Answer
Dec 03, 2025 - 08:08 PM
Foil transfers produce a striking metallic finish. For the cleanest, shiniest results, your artwork should be bold, simple, and easy for the foil to adhere to. The clearer the shapes, the stronger the metallic effect.
- Bold logos & text – Strong lettering, badges, and emblem-style graphics look exceptional in metallic foil.
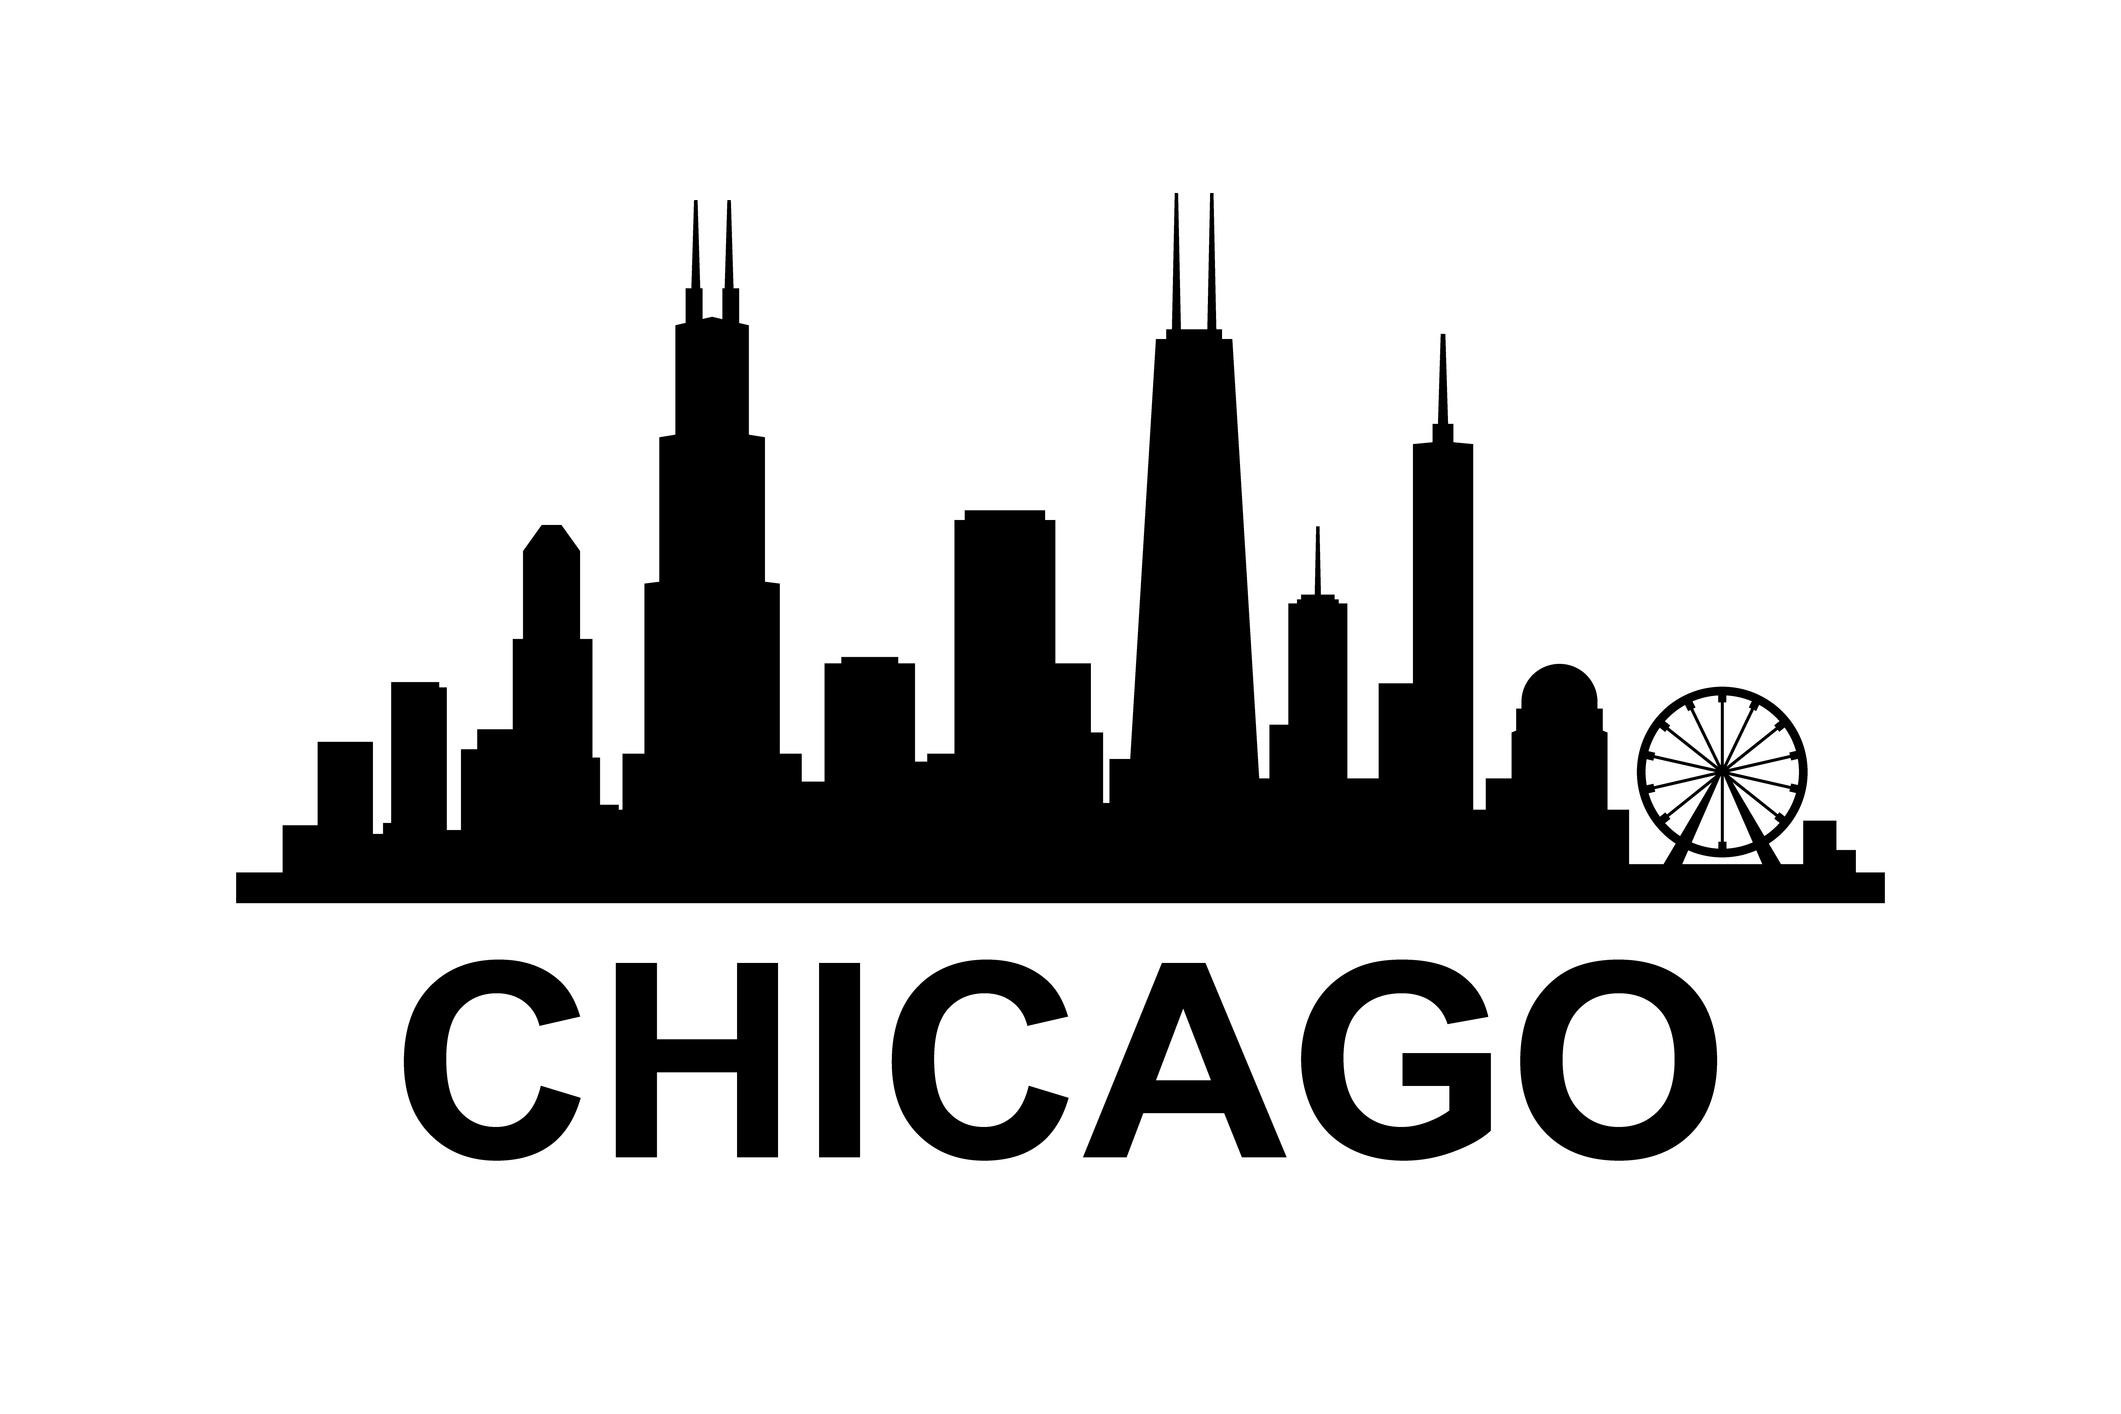
- Silhouettes & solid shapes – Designs like city skylines, animals, holiday icons, and simple illustrations transfer beautifully.
- Clean line art – Medium-to-thick line art (not thin, ultra-detailed lines) creates crisp foil definition.
✔ Preparing Your Artwork (Simple Steps)
Foil bonds only to the areas printed in clear ink. Preparing your artwork properly ensures a clean, professional transfer:
- Remove backgrounds – Your file must have a transparent background (no white boxes around the art).
- Use solid shapes – Avoid gradients, shadows, feathering, or blurs — these do not foil correctly.
- Bolder is better – Tiny details or hairline strokes may not transfer well. Simplify where possible.
- Prepare the image in MIRROR mode – All foil transfer prints must be flipped horizontally before printing.
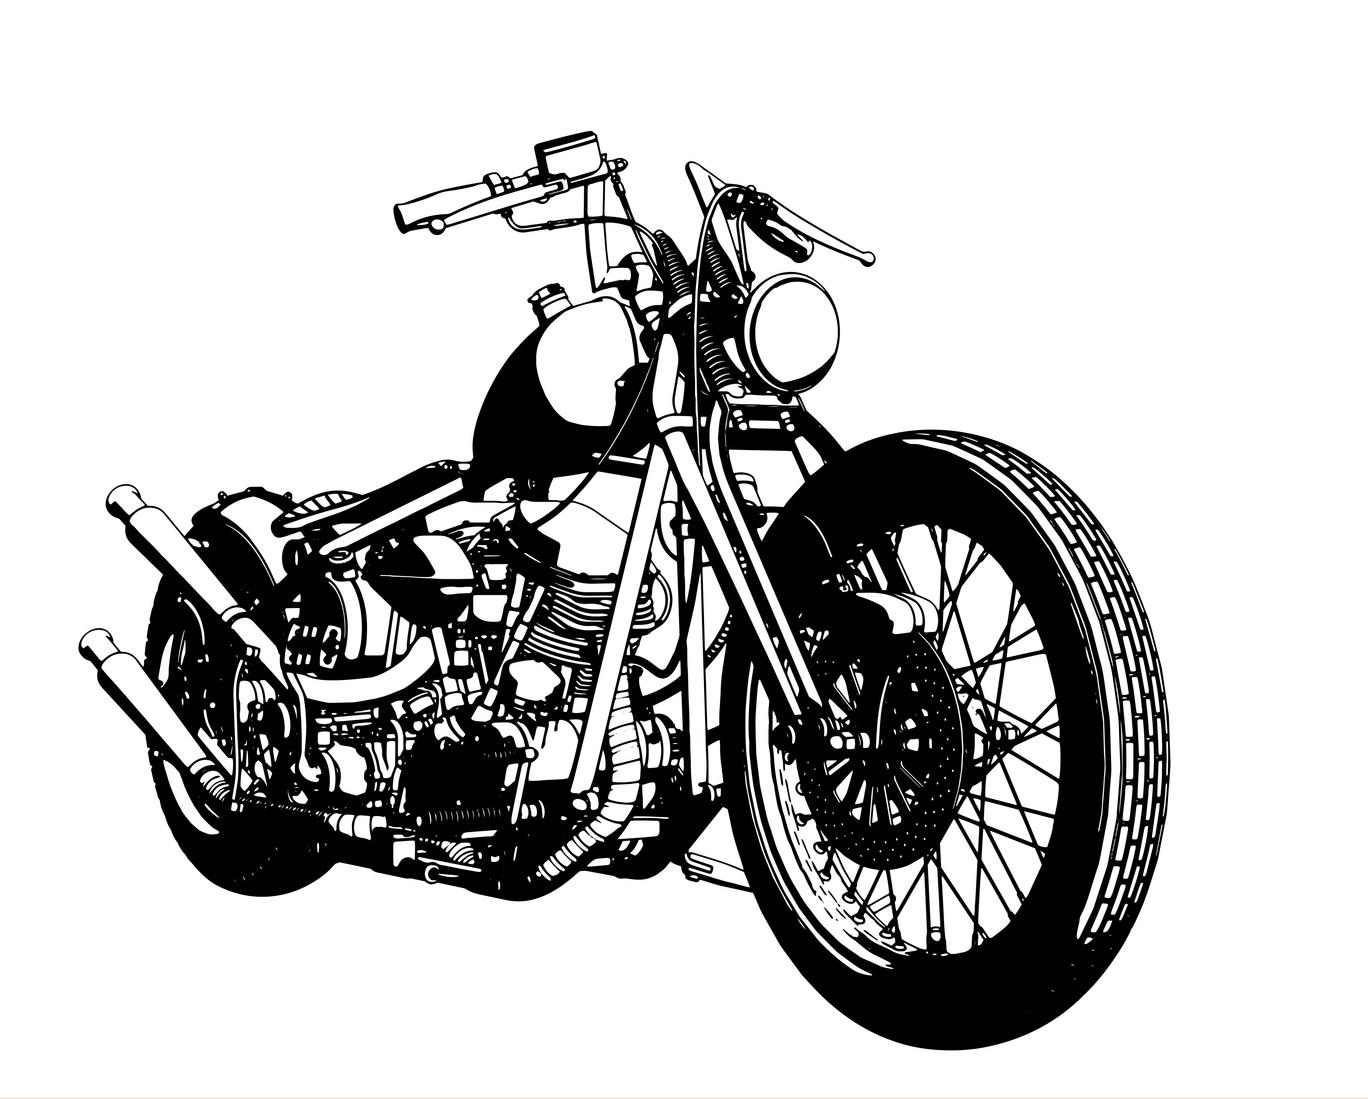
If you are working from a photo or a highly detailed illustration, simplify the design into a bold graphic or silhouette for the best foil performance. When in doubt, think simple, bold, and graphic — that’s where foil really shines.
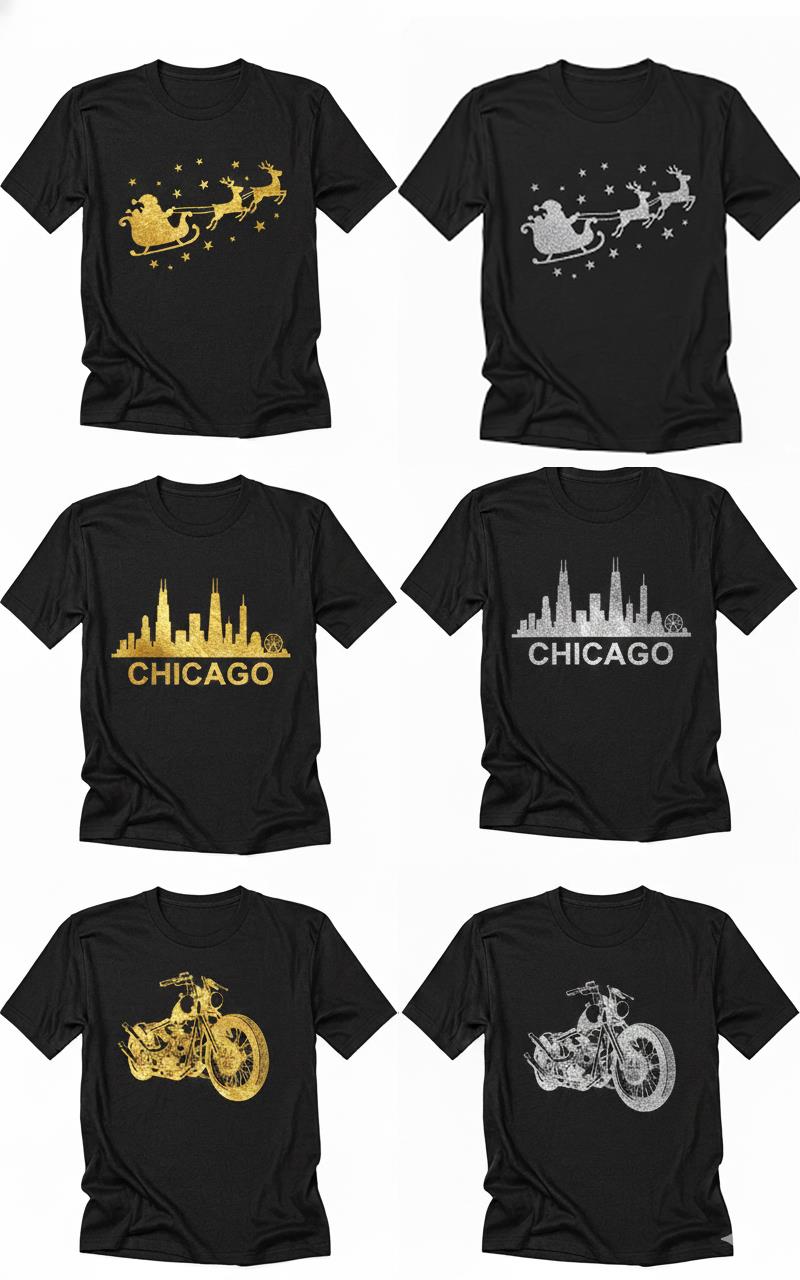
Examples of Ideal Artwork Types
These are real examples of designs that foil well: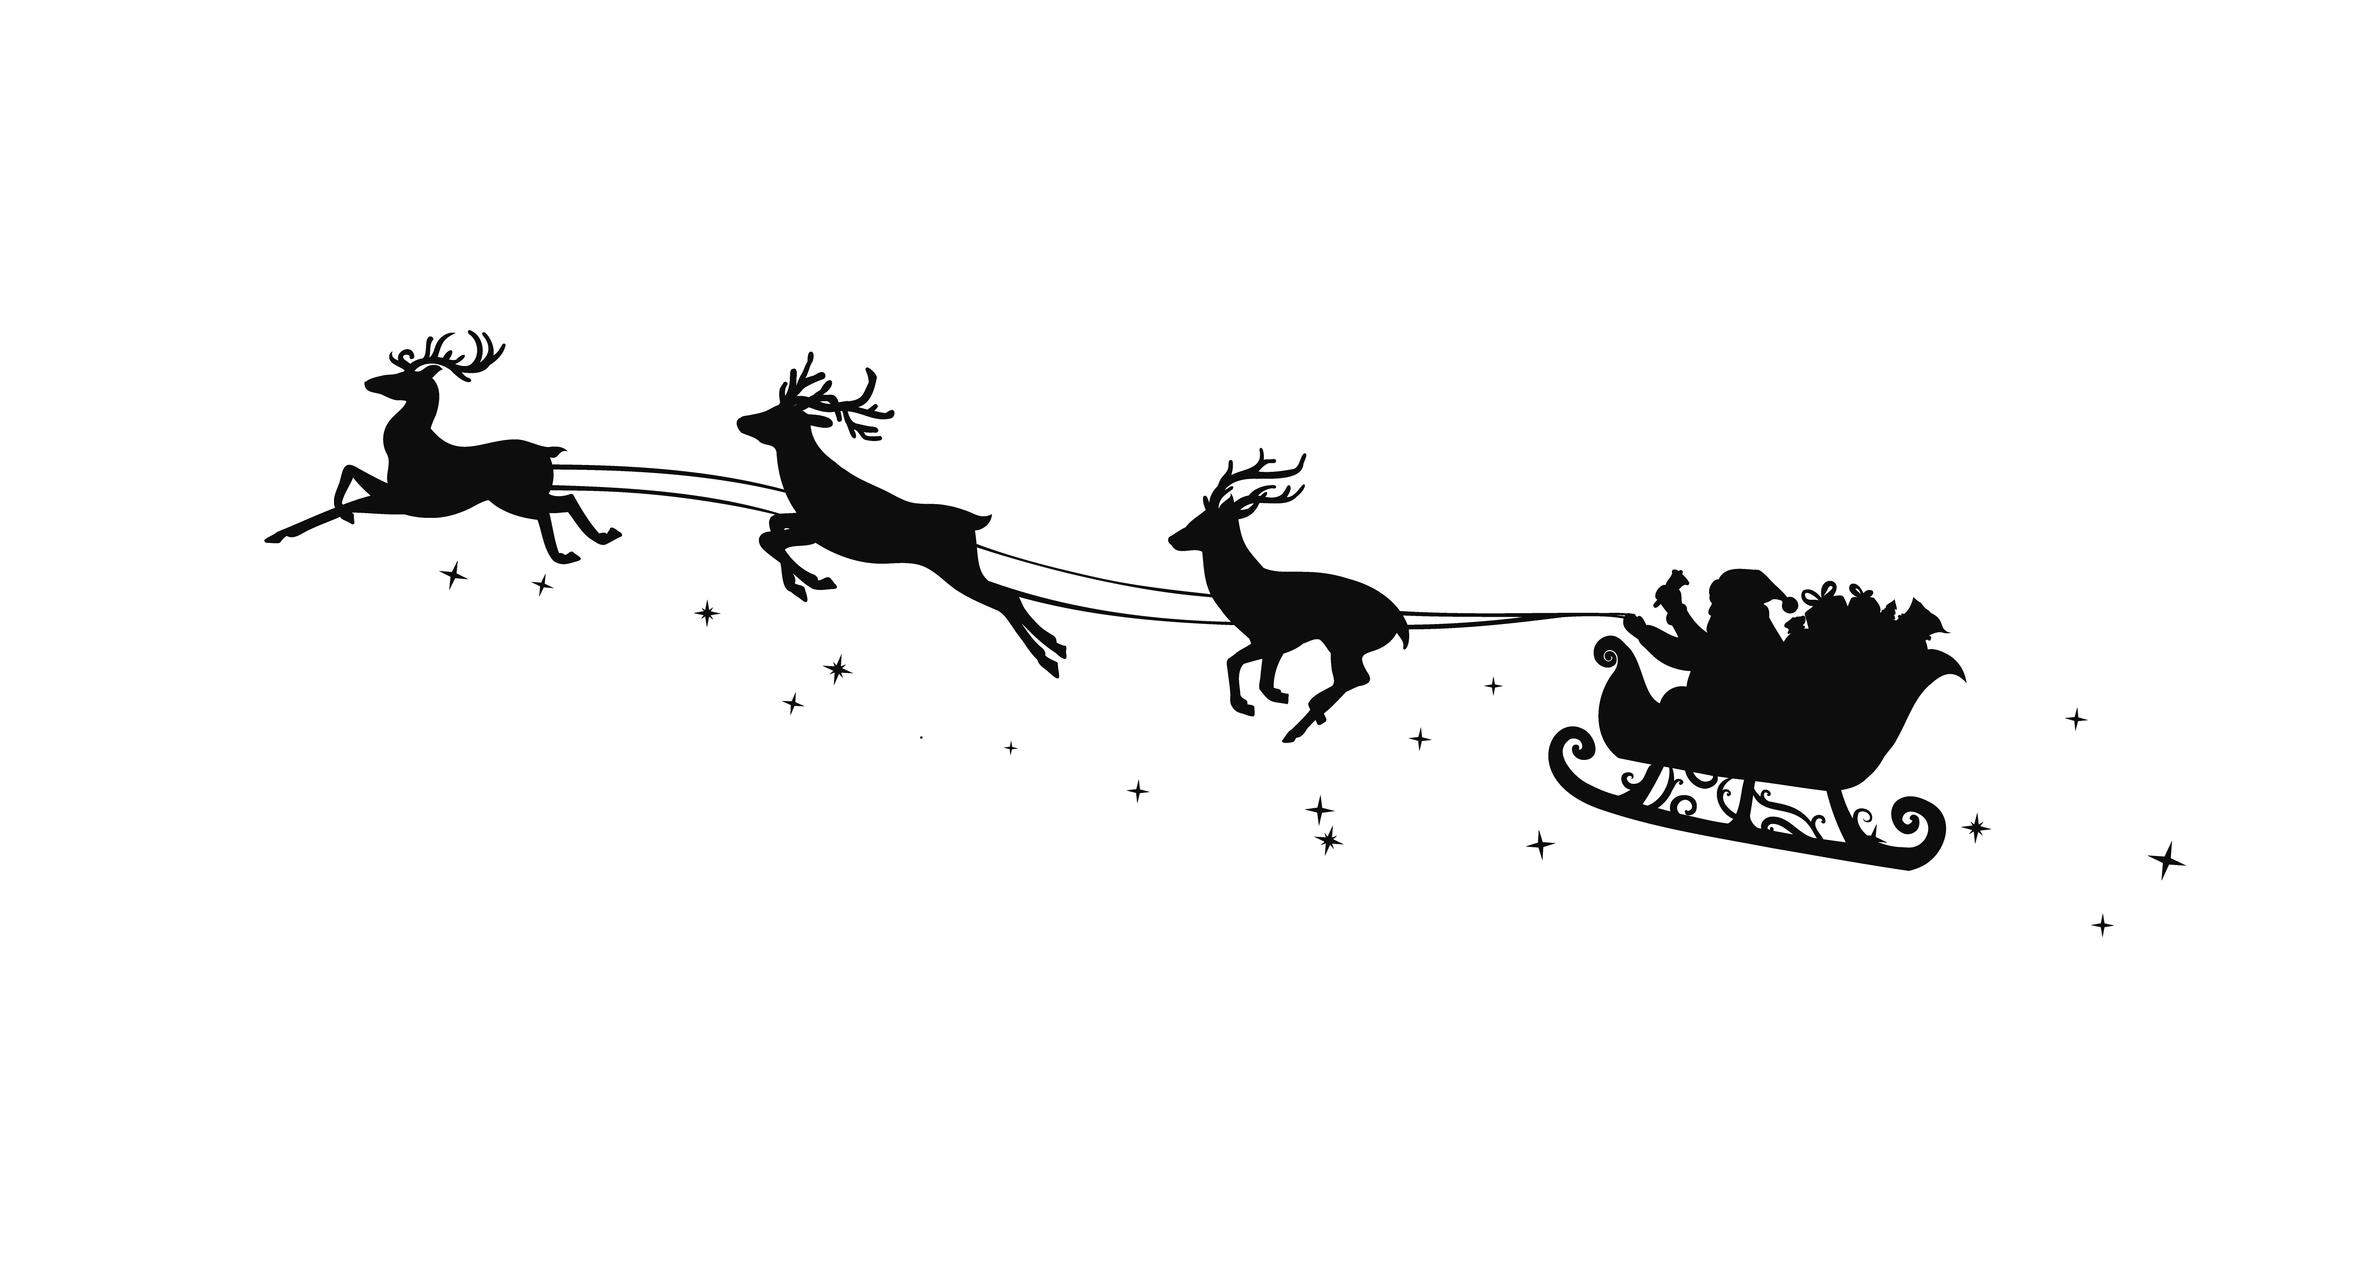
Expected Foil Output
Gold & Silver are shown, but many other color finishes can be accomplished too.
Below are examples of how the same artwork looks once printed and foiled with the MagicLine ONE HTF System: